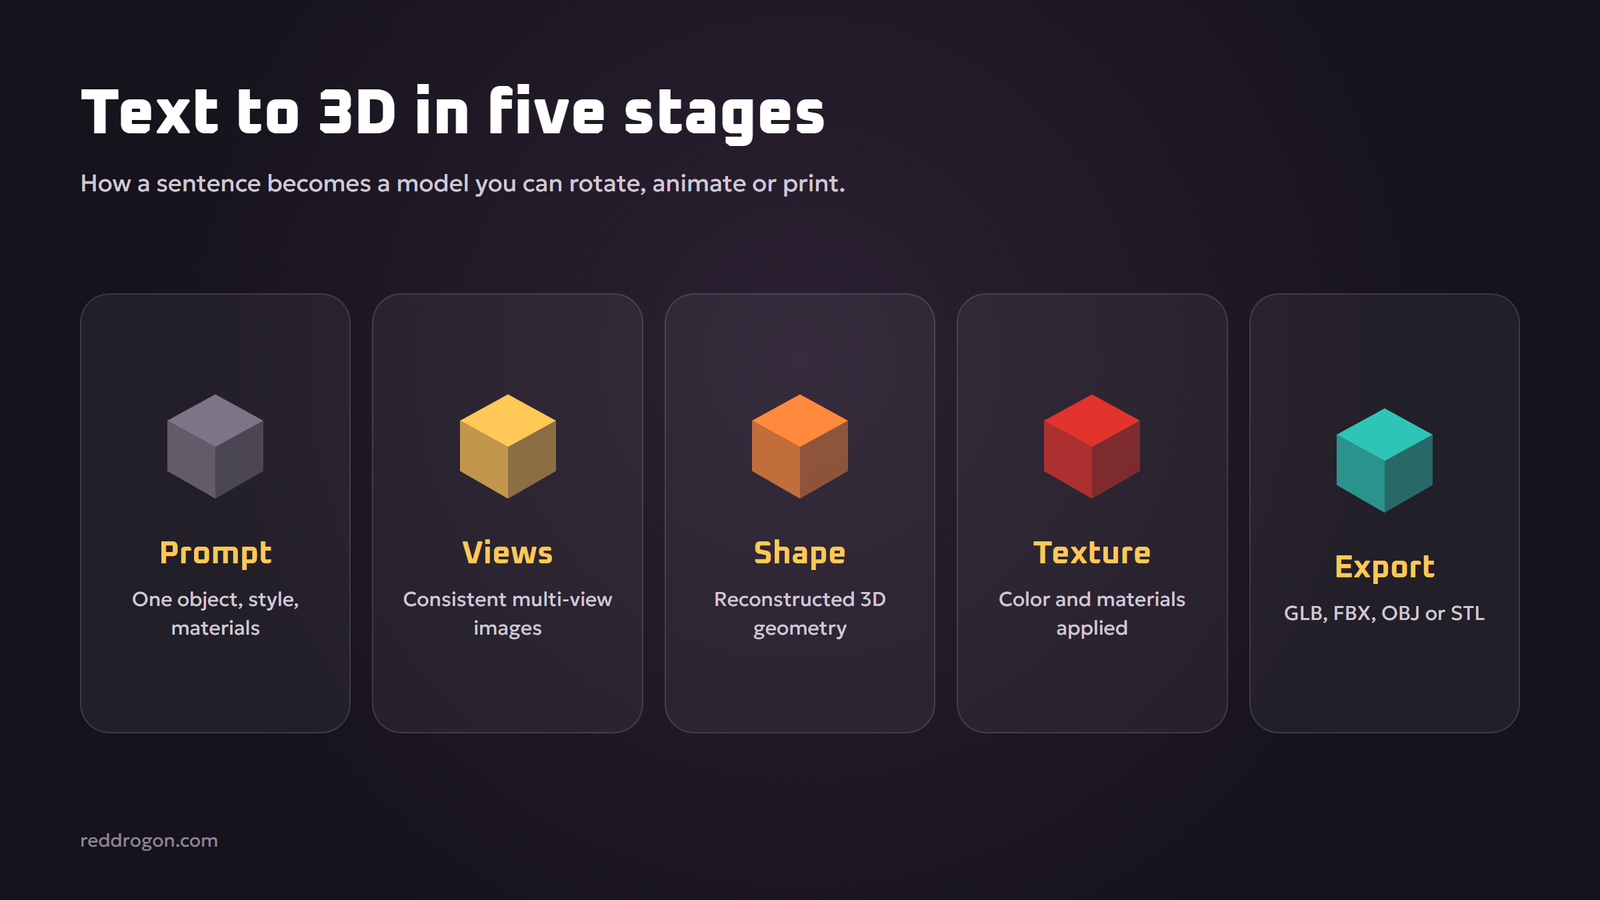
Text to 3D AI: How to Create 3D Models From Text
Building a 3D model used to mean hours or days in software like Blender, Maya or ZBrush, shaping polygons by hand and painting textures pixel by pixel. Now you can type “a small red dragon statue with golden horns, stylized, game asset” and get a textured 3D model you can rotate, export and drop into a game engine, often in minutes.
Text to 3D AI is one of the fastest-moving areas of generative AI, and it is the technology behind the 3D engine features on Red Drogon. This guide explains how text-to-3D works, the difference between text-to-3D and image-to-3D, how to write prompts that produce clean models, how to fix and export your results, and what the technology still cannot do well.
What Is Text to 3D AI?
Text to 3D AI is software that creates a three-dimensional model from a written description. The output is usually a mesh, a surface made of many small triangles, plus textures that give it color and material, such as metal, wood or skin. Many tools also produce files ready for games, animation, augmented reality and 3D printing.
Closely related tools include:
- Image to 3D: turn a single picture or concept art into a model.
- Multi-image or video to 3D: reconstruct a real object or room from many photos.
- AI texturing: paint realistic textures onto a model you already have.
- AI rigging and animation: add a skeleton so a character can move.
How Text to 3D AI Works
Text-to-3D is harder than text-to-image because there is far less 3D training data in the world than there are photos with captions. Researchers solved this by borrowing knowledge from image models. You do not need the math, but knowing the main approaches helps you choose tools and understand their quirks.
Approach 1: Using image models to sculpt 3D
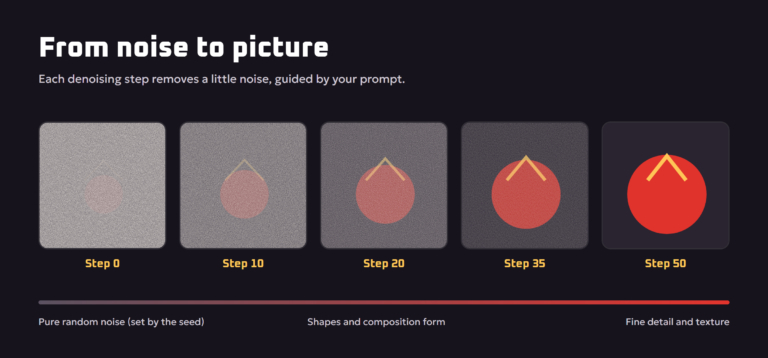
The 2022 research project DreamFusion showed that a 2D image generator can guide a 3D shape. The system starts with a rough 3D representation, renders it from random camera angles, and asks the image model “does this look like the prompt from this angle?” Over many rounds, the shape is adjusted until it looks right from every direction. The idea works, but it can be slow.
Approach 2: Multi-view generation plus reconstruction
Many modern tools first generate several consistent views of the object, such as front, side, back and top, using an image model trained to keep views consistent. A second model then reconstructs a 3D shape from those views. This is much faster and is behind many tools that return a model in a minute or two.
Approach 3: Native 3D generative models
As more 3D data becomes available, models are being trained to generate 3D shapes directly, often in a compressed “latent” form, similar to how image generators work. These tend to produce cleaner geometry.
Ways to represent the result
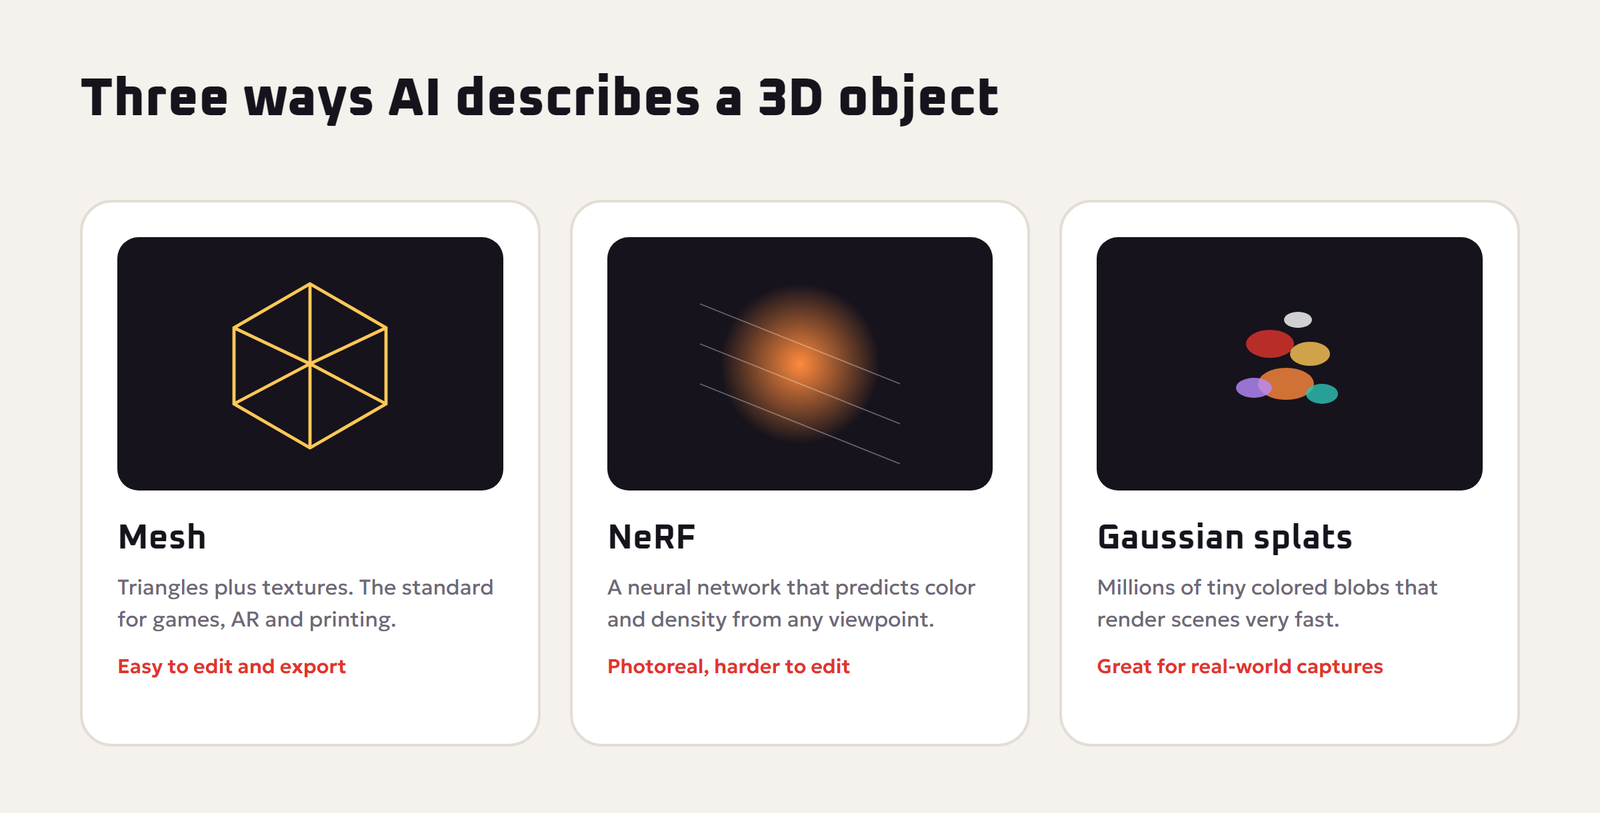
- Meshes: triangles and textures, the standard for games and printing.
- NeRFs: neural radiance fields, introduced in the paper NeRF, which store a scene as a neural network that predicts color and density from any viewpoint. Great for realistic captures, harder to edit.
- Gaussian splats: millions of tiny colored blobs, described in the paper 3D Gaussian Splatting, popular for fast, photorealistic scene capture.
For most creators, the practical output is still a textured mesh. If you are curious about the image side of the process, our explainer on how ai image generators work covers diffusion in detail.
Text to 3D vs Image to 3D
| Feature | Text to 3D | Image to 3D |
|---|---|---|
| Input | A written description | A picture, sketch or concept art |
| Control over look | Lower; the AI decides many details | Higher; the model follows your image |
| Speed to first result | Fast | Fast |
| Best for | Brainstorming, props, quick ideas | Matching an existing character or design |
| Common problem | Unexpected details or style drift | Hidden sides of the object are guessed |
A popular workflow combines both: generate a clear concept image first, refine it until you love it, then turn that image into 3D. That gives you the control of a picture with the speed of AI.
How to Write Text-to-3D Prompts That Work
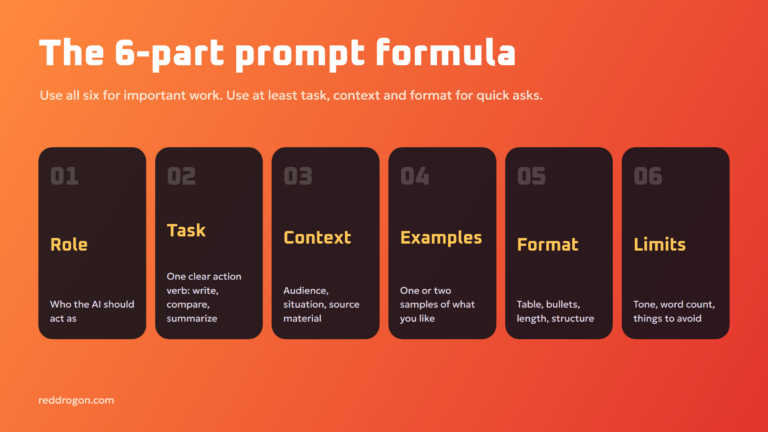
3D prompts follow the same logic as image prompts, with a few extra rules. Our prompt engineering guide covers the general principles.
- Describe one object. “A wooden treasure chest” works far better than “a pirate ship deck with chests, barrels and a parrot”.
- State the style. Stylized cartoon, low-poly, realistic, chibi, sci-fi, hand-painted.
- Name the materials. Brushed steel, worn leather, glossy plastic, mossy stone.
- Give a simple pose. For characters, a neutral “T-pose” or “A-pose” makes rigging and animation much easier later.
- Add the use case. Words like “game asset”, “3D print” or “mobile game prop” can push some tools toward cleaner geometry.
- Avoid thin, floating parts. Hair strands, chains and separate floating objects are where models break most often.
Example prompt: “A cute red dragon mascot, stylized 3D cartoon, standing in A-pose, smooth glossy scales, golden horns and belly, big friendly eyes, game-ready asset.”
What You Can Use AI 3D Models For
- Game development: props, environment pieces and prototype characters, especially for indie developers and game jams.
- 3D printing: figurines, miniatures, toys and custom gifts.
- E-commerce and AR: product previews customers can rotate or place in their room.
- Film and animation: background props and early previsualization.
- Education: quick models of molecules, historical objects or machines for lessons.
- Social media and marketing: eye-catching 3D characters and mascots for brands.
Cleaning Up and Exporting Your 3D Model
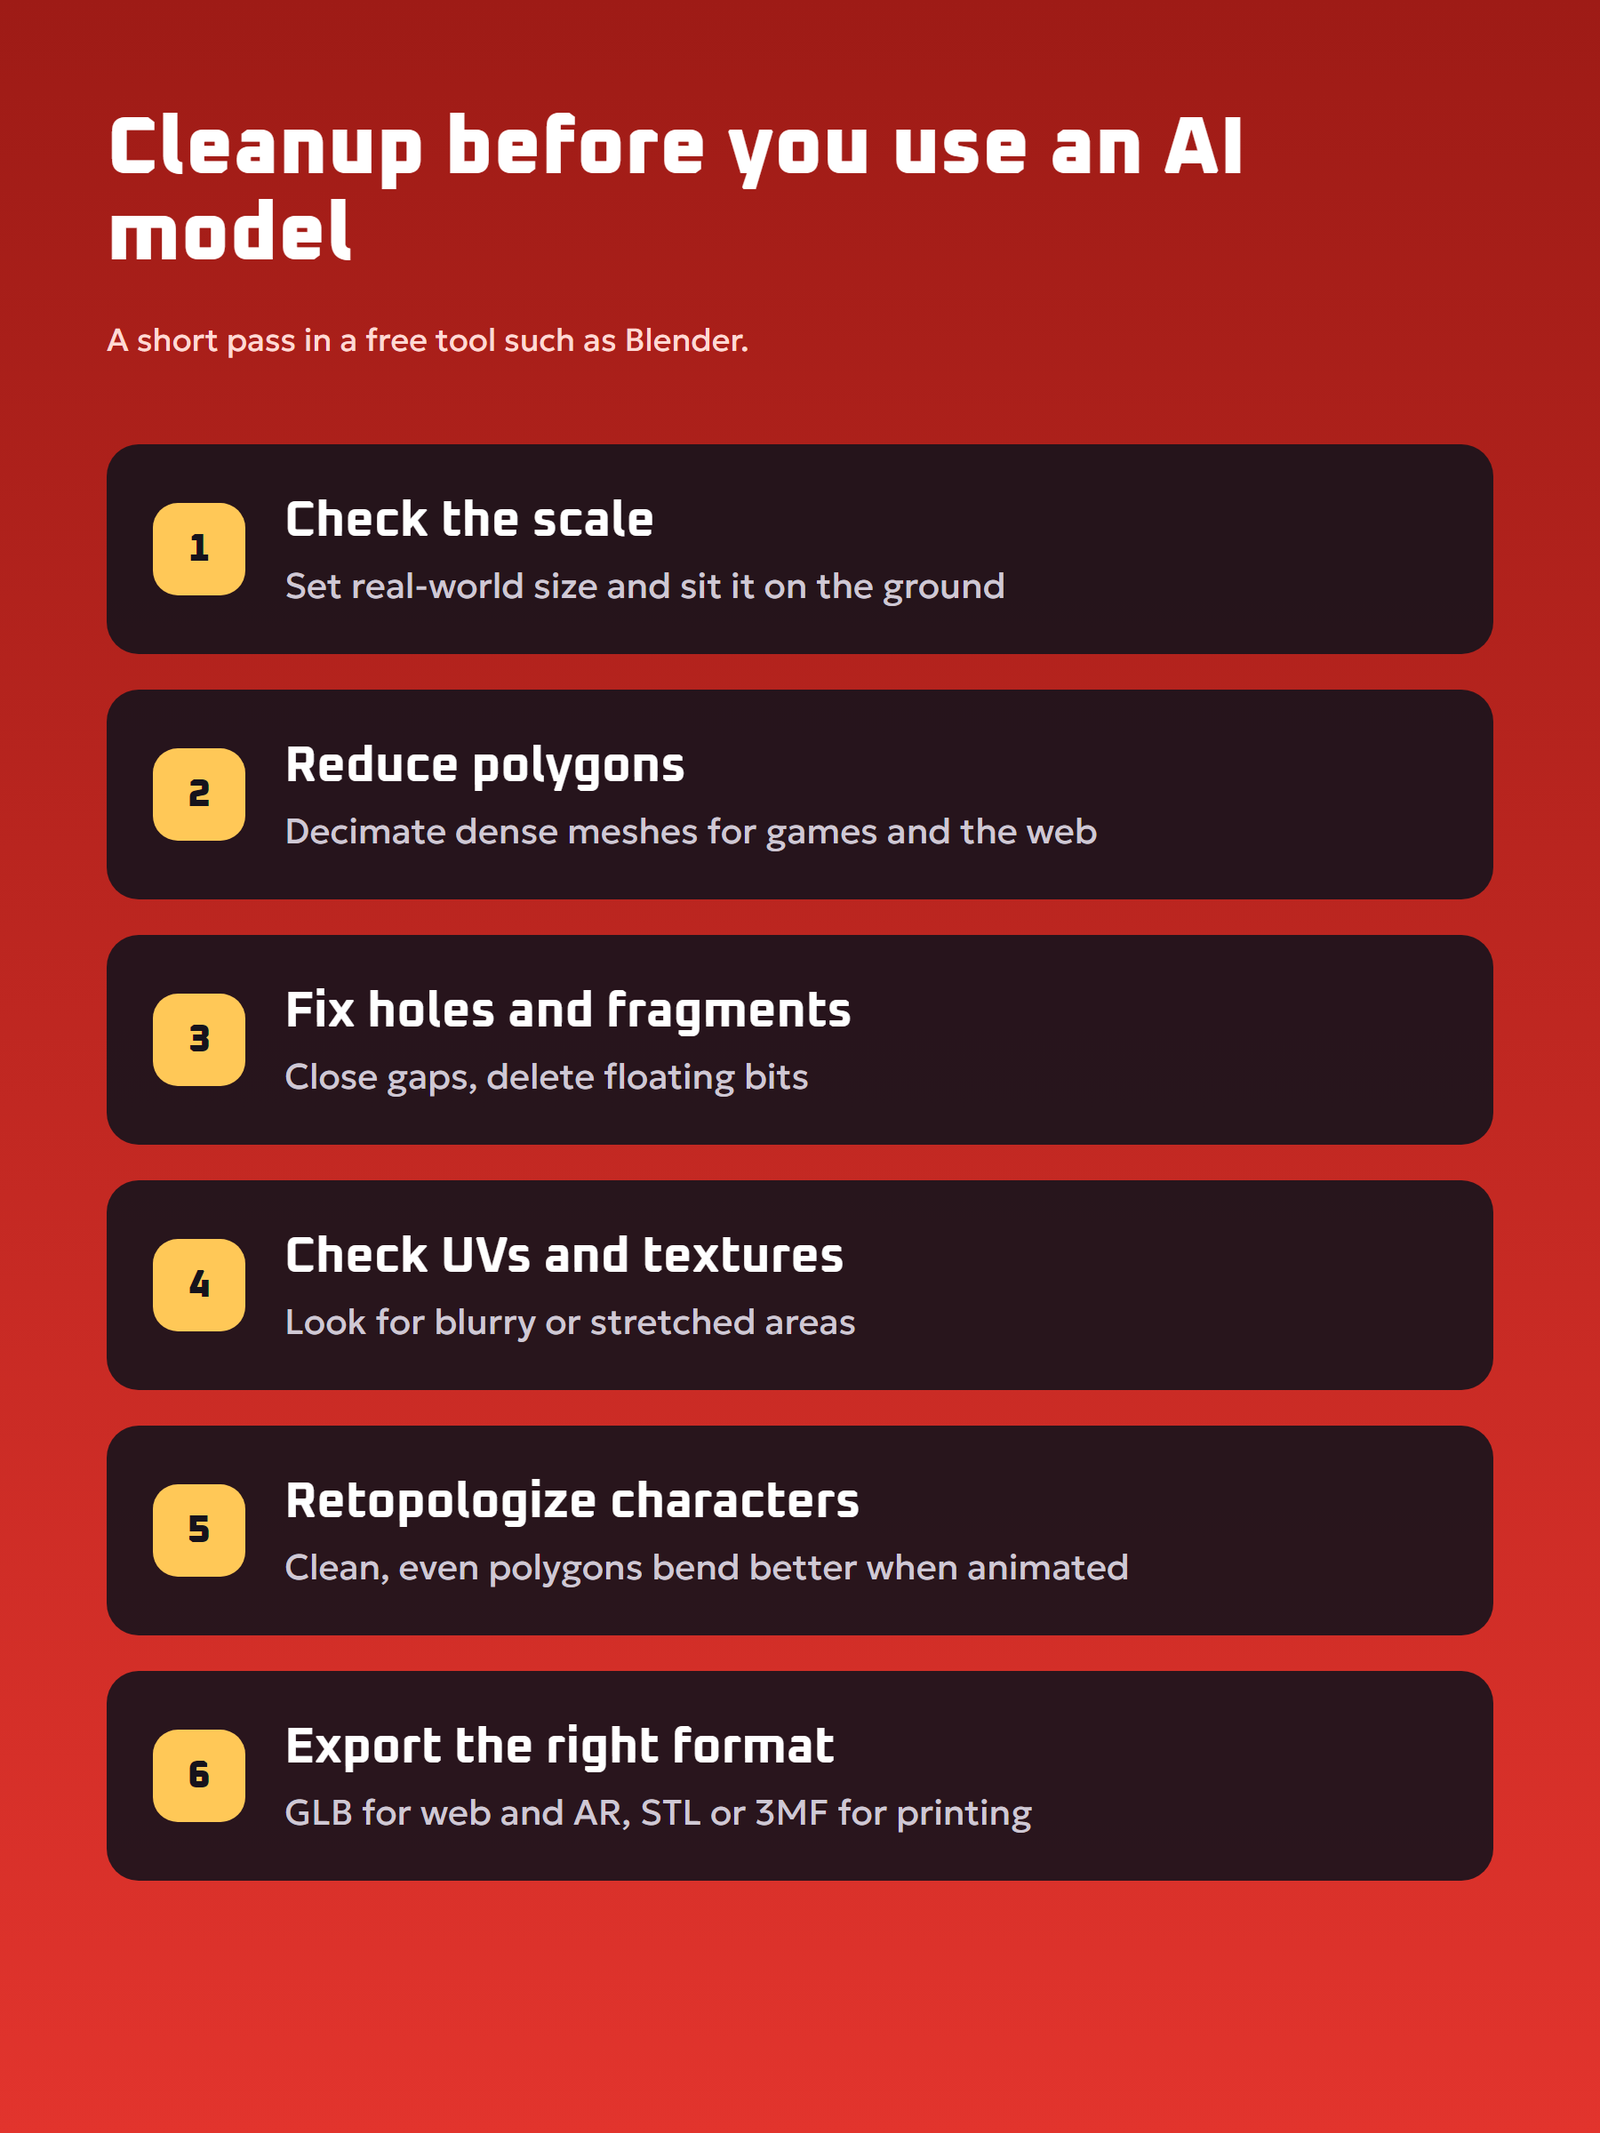
AI-generated models are rarely perfect straight out of the generator. A short cleanup pass in a free tool such as Blender makes them far more usable.
Common fixes
- Reduce polygon count. AI meshes can be very dense. Use a decimate tool to lower the triangle count for games and the web.
- Fix holes and bad geometry. Close gaps and remove floating fragments, especially before 3D printing.
- Retopology. For characters that will animate, a clean, even polygon layout bends much better. Automatic remeshing tools help.
- Check textures. Look for blurry or stretched areas, and bake or repaint where needed.
- Set scale and origin. Make sure the model is the right size and sits correctly on the ground.
Which file format to choose
| Format | Use it for |
|---|---|
| GLB or glTF | Web, AR and most game engines; textures packed in one file. See the glTF standard. |
| FBX | Animation and many game engine pipelines |
| OBJ | Simple, widely supported static models |
| STL or 3MF | 3D printing |
| USDZ | Augmented reality on Apple devices |
Preparing an AI Model for 3D Printing
- Make it watertight. The mesh must be closed, with no holes, or the slicer software may fail.
- Thicken thin parts. Very thin horns, fingers or tails can break or fail to print.
- Add a flat base. A flat bottom helps the model stick to the print bed.
- Check the scale. Set the real-world size in millimeters before exporting.
- Run it through your slicer. Preview supports and layers before you print.
Limits of Text to 3D AI Today
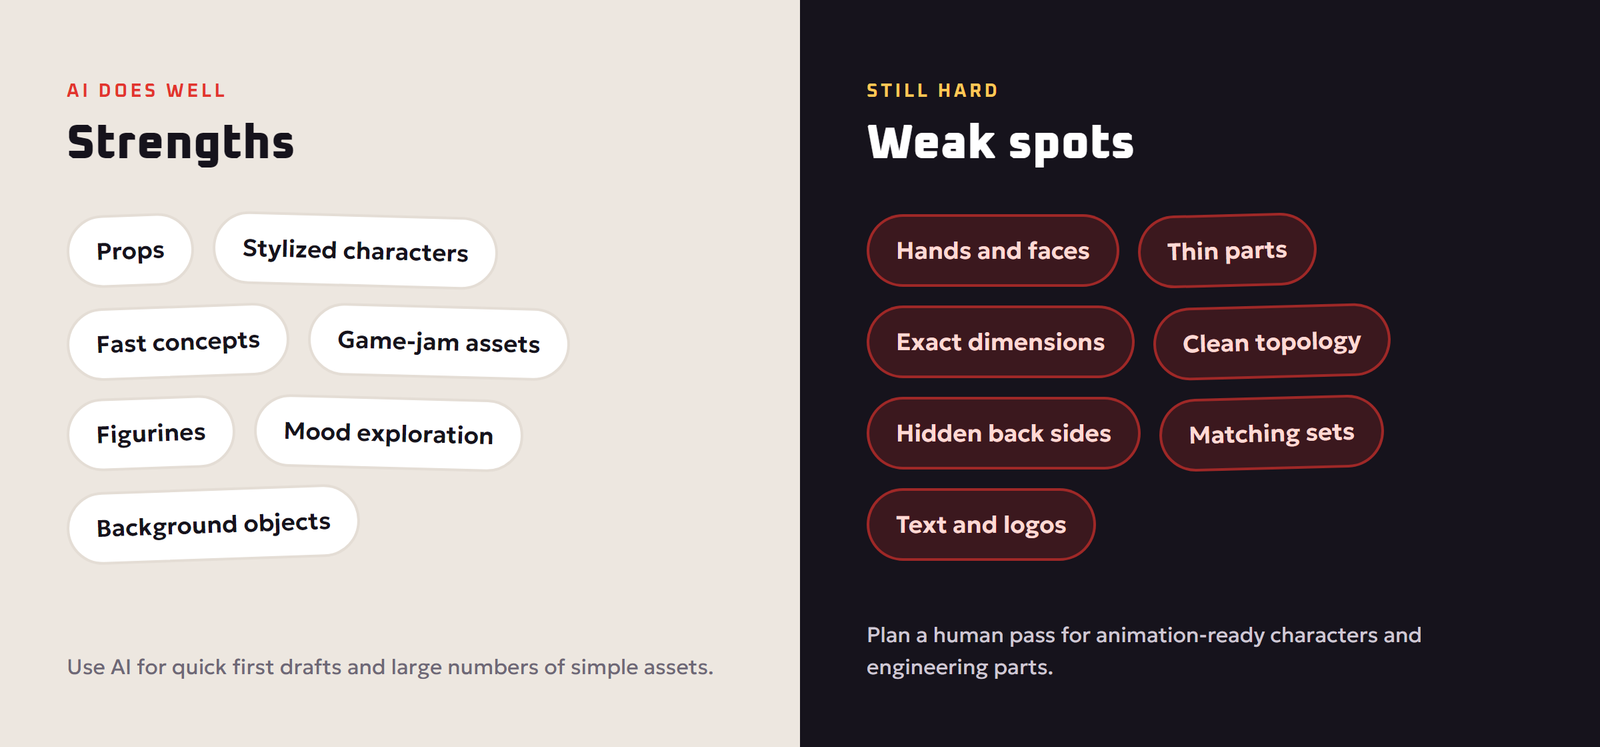
- Messy topology. Triangle layouts are often uneven, which is fine for still props but not ideal for animation.
- Back sides are guessed. Especially with image-to-3D, unseen areas can look blurry or strange.
- Fine details. Hands, faces, text, thin straps and complex mechanical parts are still weak spots.
- Exact dimensions. AI is poor at precise engineering measurements. Use CAD software for parts that must fit together.
- Consistency. Making a matching set of assets in one exact style can take many attempts.
- Licensing. Check each tool’s terms for commercial use, and avoid generating trademarked characters or real people. Our ai privacy and safety guide covers responsible use more broadly.
Where Text to 3D Is Heading
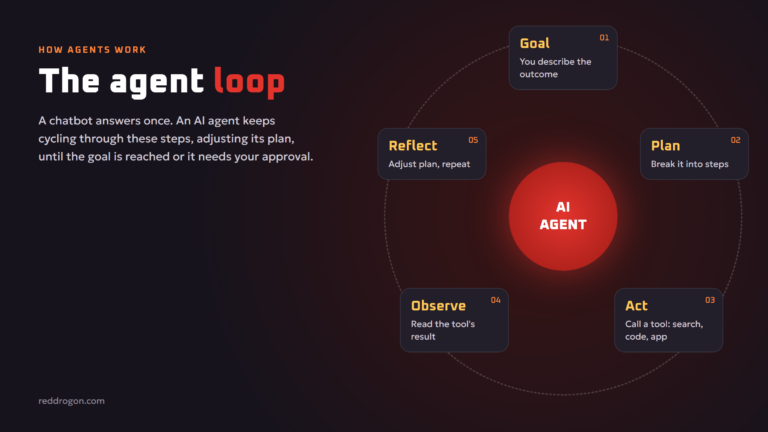
The direction is clear: cleaner geometry, better textures, automatic rigging, whole scenes instead of single objects, and AI agents that can build, check and adjust 3D content from a brief. The agent idea is explained in our guide to agentic ai. Game studios and online stores are already building pipelines where AI handles first drafts and artists polish the final assets.
If you want to automate parts of a creative pipeline, such as generating product renders or naming and organizing files, our guide to ai automation for small business is a good next step. For local, private workflows, many 3D and image models can also run on your own GPU, the same way language models do in our guide to run an llm locally.
A Step-by-Step Text-to-3D Workflow
- Write the brief. One sentence about the object, its style, materials and where it will be used. Example: “Stylized wooden treasure chest with iron bands, game prop for a mobile adventure game.”
- Generate concept images. Use an image generator to explore four to eight looks quickly. It is faster and cheaper than generating 3D every time.
- Pick and refine one design. Choose the strongest image and fix details with inpainting until it looks right.
- Convert to 3D. Run the chosen image through an image-to-3D tool, or use its description in a text-to-3D tool. Generate two or three variations.
- Inspect from every angle. Rotate the model and check the back, the underside and thin parts.
- Clean up. Reduce polygons, fix holes, check textures and set scale in a 3D editor.
- Export and test. Export the right format, import it into your game engine, AR viewer or slicer, and test it in the real setting.
This hybrid approach gives you the creative control of image generation and the speed of AI 3D, and it avoids wasting time on 3D generations of designs you would have rejected as pictures.
Tips for Consistent Sets of 3D Assets
- Reuse the same style words in every prompt, such as “stylized, hand-painted, chunky proportions”.
- Use a reference image from your first good asset when the tool supports it.
- Keep a shared color palette and apply it when you texture or recolor the models.
- Match the scale of every asset against a simple reference object, like a one-meter cube.
- Finish the set by hand. A quick unifying pass on materials and colors makes AI assets look like they belong to the same world.
How to Choose a Text-to-3D Tool
New text-to-3D tools launch constantly, so compare them on what matters for your project rather than on hype:
- Output quality: generate the same prompt in two or three tools and compare geometry and textures from every angle.
- Image-to-3D support: essential if you want to match concept art or an existing character.
- Export formats: make sure it exports GLB, FBX, OBJ or STL, whichever your engine or printer needs.
- Polygon control: options for low-poly or optimized output save cleanup time for games and the web.
- Texture options: look for PBR materials and the ability to regenerate or edit textures.
- Rigging and animation: useful if you need characters that move.
- Licensing and price: check commercial-use rights on the plan you choose, and how many generations you get.
Run a small test with your real use case, such as a single game prop or a figurine, before committing to a paid plan.
Key Terms Explained
- Mesh: a 3D surface built from many small triangles or polygons.
- Texture: an image wrapped onto a mesh to give it color and surface detail.
- Topology: how a mesh’s polygons are arranged, which affects how well it bends when animated.
- Retopology: rebuilding a mesh with a cleaner, more even polygon layout.
- Rigging: adding a skeleton to a model so it can be posed and animated.
- Watertight: a closed mesh with no holes, required for most 3D printing.
- PBR materials: physically based rendering materials that describe color, roughness and metalness for realistic lighting.
- Decimation: reducing the number of polygons in a mesh to make it lighter.
Key Takeaways
- Text-to-3D borrows knowledge from image models to build 3D shapes.
- Image-to-3D gives more control; generate a concept image first.
- Describe one object, its style, materials and a simple pose.
- Plan a cleanup pass and export the right format for your use.
- Use AI for fast first drafts and humans for final polish.
Whichever tool you choose, keep your prompts, concept images and exported files organized in one project folder. When a client or teammate asks for a change, you can regenerate or edit the asset quickly instead of starting again from nothing.
Frequently Asked Questions
What is text to 3D AI?
Text to 3D AI is software that turns a written description into a 3D model, usually a textured mesh that you can rotate, edit, animate, export to a game engine or 3D print.
How does text to 3D AI work?
Most tools use image AI to guide 3D creation, either by sculpting a shape until it looks right from every angle, or by generating several consistent views and reconstructing a 3D model from them.
Is text to 3D or image to 3D better?
Image to 3D gives more control because the model follows your picture. Text to 3D is faster for brainstorming. Many creators generate a concept image first, then convert it to 3D.
Can I 3D print an AI-generated model?
Yes, after preparing it. Make the mesh watertight, thicken thin parts, add a flat base, set the real size and export it as STL or 3MF for your slicer.
Which file format should I export AI 3D models in?
Use GLB or glTF for web, AR and most game engines, FBX for animation pipelines, OBJ for simple static models, STL or 3MF for 3D printing, and USDZ for Apple AR.
Can AI 3D models be used in games?
Yes, especially for props and prototypes. You may need to reduce the polygon count, fix textures and clean the topology for characters that animate.
Do I need Blender to use text to 3D AI?
Not to generate models, but a free tool like Blender is very useful for cleanup, polygon reduction, fixing holes, setting scale and exporting to the right format.
What are the limits of text to 3D AI?
Common limits are messy topology, guessed back sides, weak fine details such as hands and thin parts, poor precision for engineering dimensions, and inconsistency across sets of assets.
Can I sell AI-generated 3D models?
It depends on the tool’s terms of service and your local law. Many tools allow commercial use on some plans, but avoid trademarked characters and real people, and check the license first.
Final Thoughts
Text to 3D AI has turned 3D creation from a specialist skill into something anyone can try. Write a focused prompt, describe style and materials, start from a concept image when you need control, clean the model in a free tool, and export the right format for your goal. Treat AI as your fast first draft, add a human finishing pass, and you can build props, characters and prints at a speed that was impossible a few years ago. Tools in this field change quickly; this guide reflects the technology as of November 2026.